How to Install WordPress and Setup Database – part 2

Nice, in this second part we are going to learn how to install WordPress and mount all WordPress Tables into our created Database.
Read the post part 1 How to Install WordPress and Setup Database – part 1
1.- Go to https://wordpress.org/download/ and download WordPress

2.- Go to your download files and uncompress the folder:
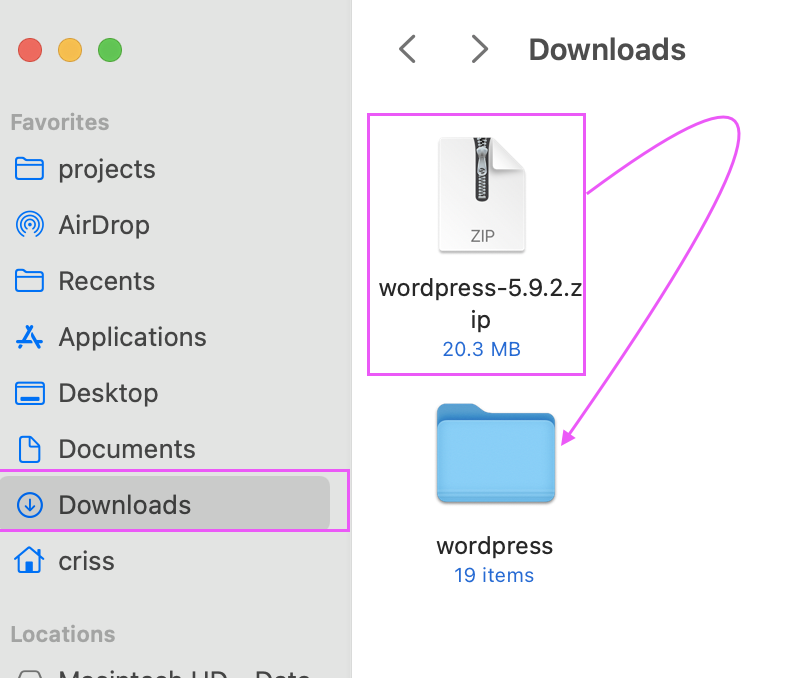
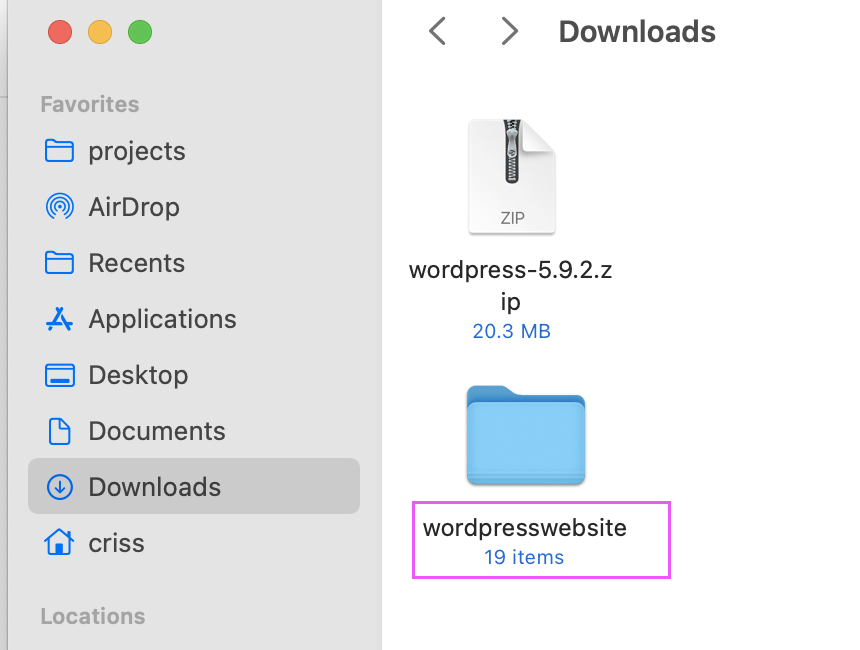
3.- Let’s rename the uncompressed folder called “wordpress-5.9.2.zip” to other name like: wordpresswebsite
4.- Let’s copy the wordpresswebsite folder and click “Open in Finder” button that is in MAMP application

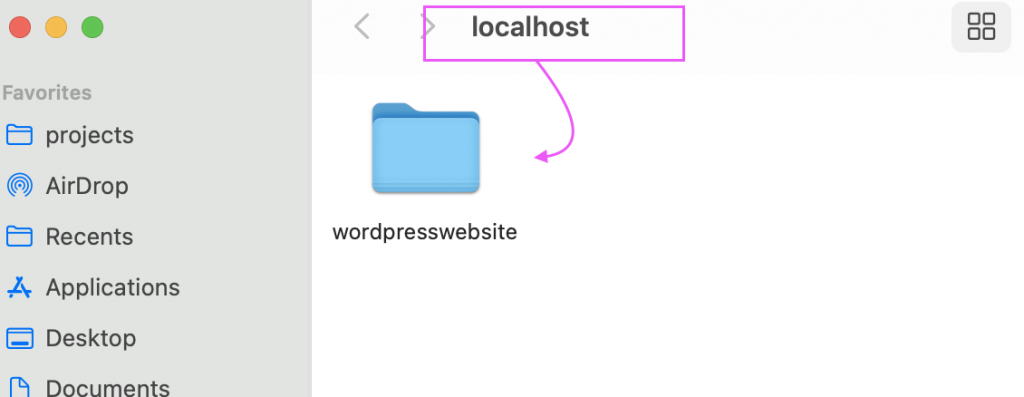
5.- Let’s paste our wordpresswebsite folder in localhost (that was opened when we clicked the “Open in Finder” button).
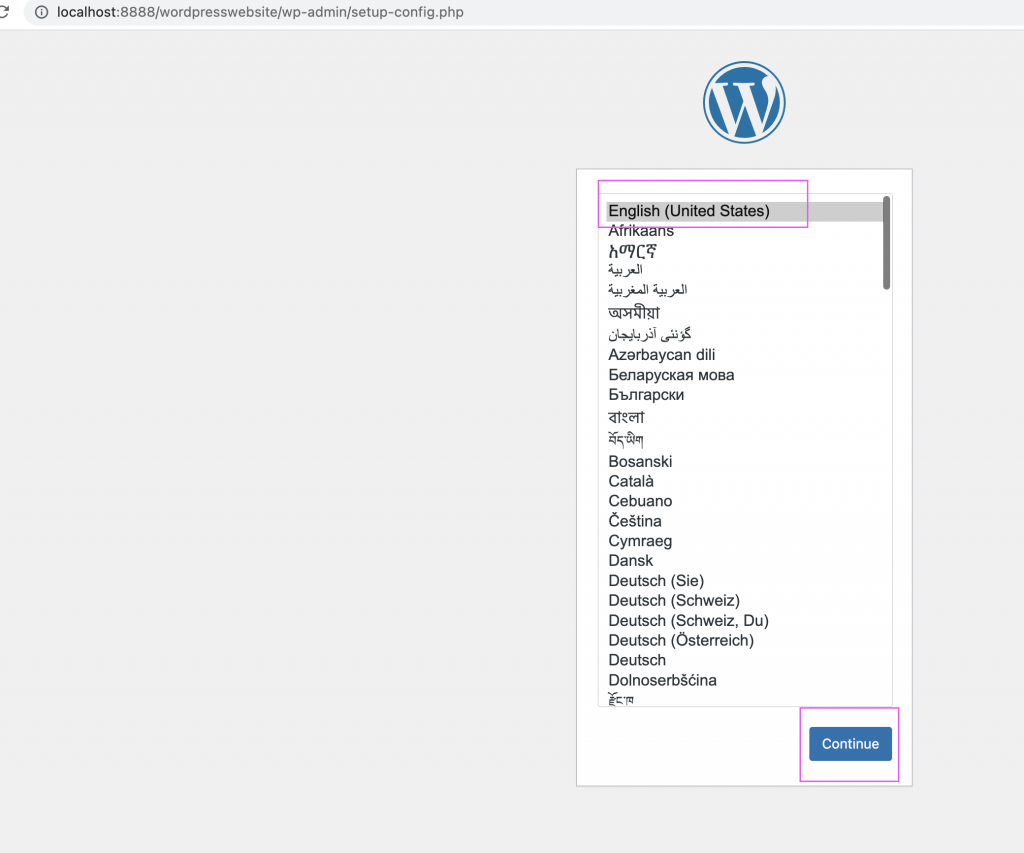
6.- Now open the next path to start configuring our blog in WordPress
http://localhost:8888/wordpresswebsite/wp-admin/setup-config.php
7.- Follow next steps
8.- Continue and add the next information, remember the Database name that we created already in our case the Database name was myblog
Note: See the part 1 of the post.
9.- The click on Installing now and we are going to see this next window.
Note: remember to save all of this data in your notes like the username, password and Database name, etc. don’t loose it.
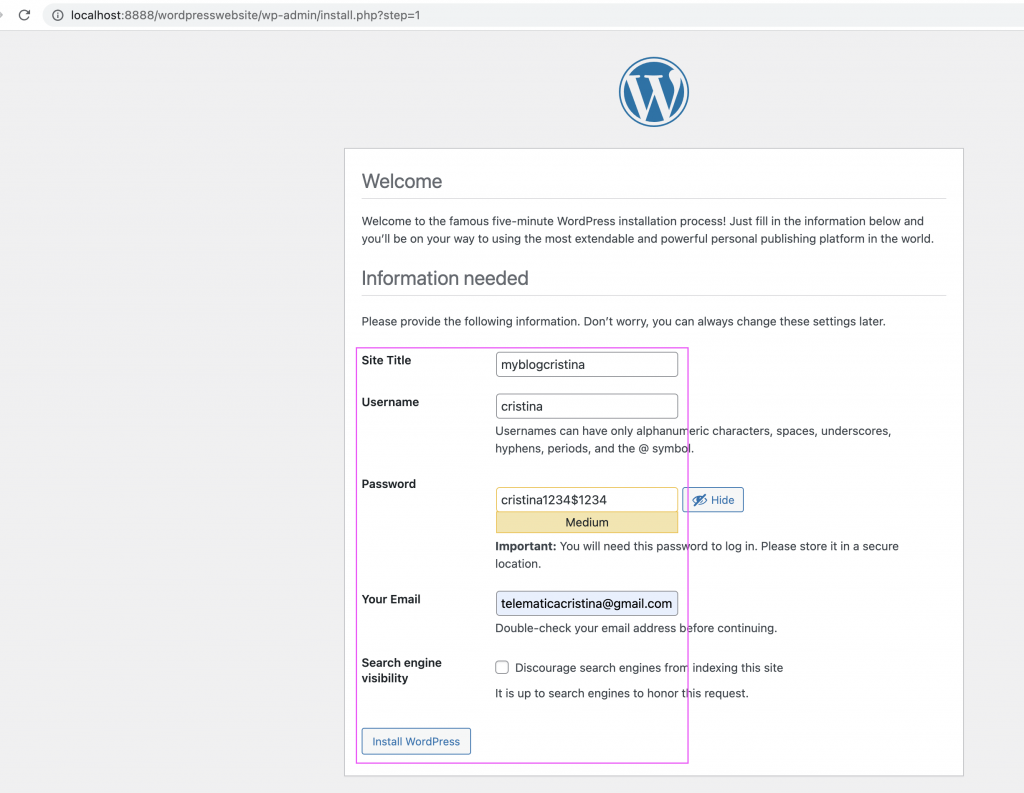
10.- Finally login with your user and password to see your WordPress dashboard environment like this:
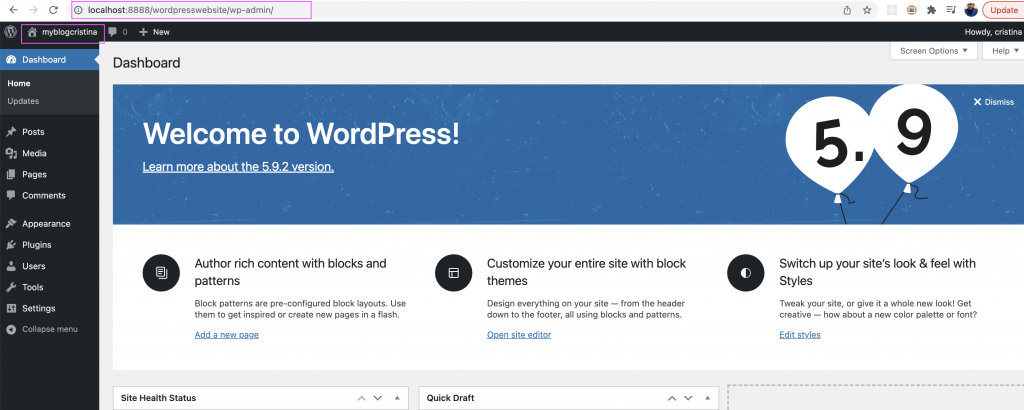
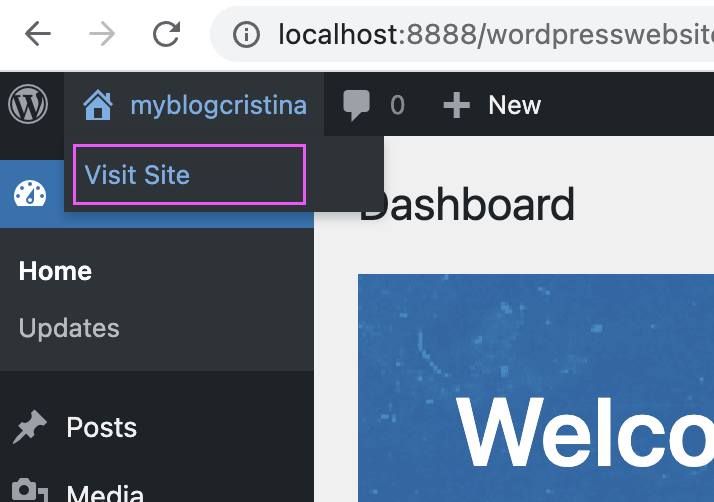
Nice at this point your blog is created and to open the blog just click here:
Now we can see our blog with a default theme:
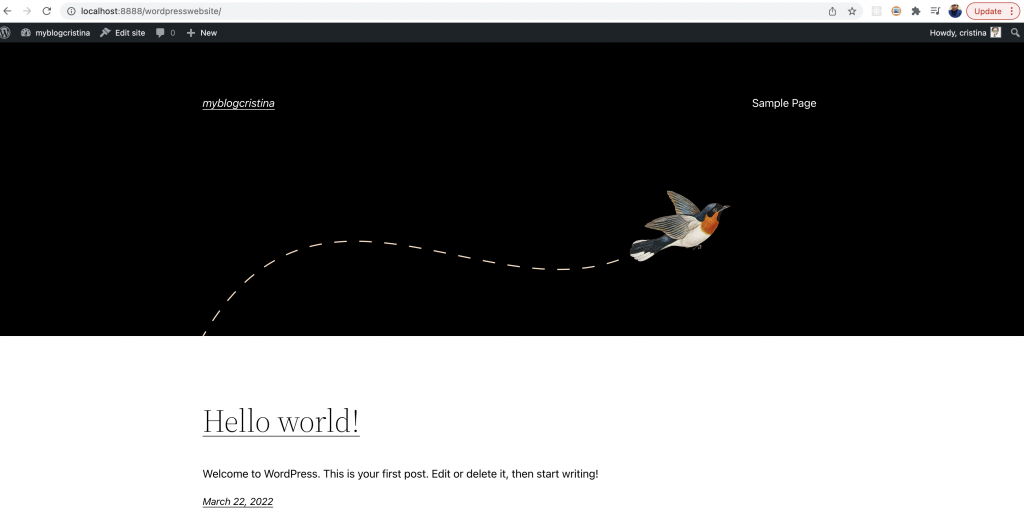
Nice! Excellent job!
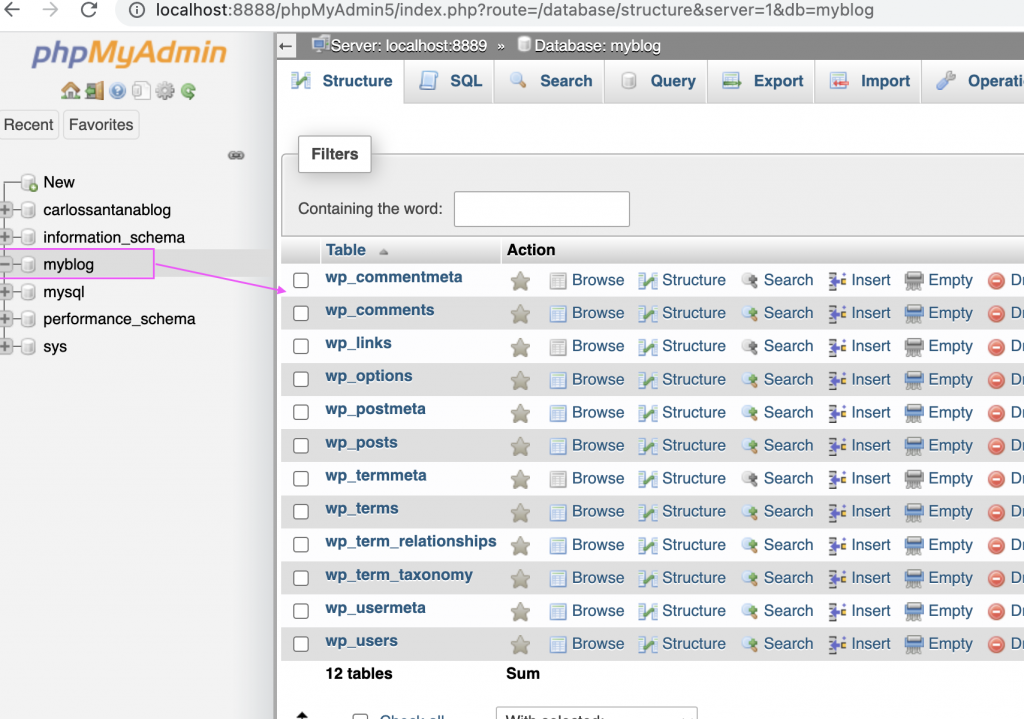
Look how the myblog database have all the tables that our blog need! Nice!
If you want to change the theme then theres is multiple website where you can buy themes for WordPress or some other themes are free.
By Cristina Rojas!


