Git rebase and resolve conflicts through the terminal

Hi, It is very common that when we work in a software development team we encounter conflicts when we want to merge our current branch with the branch where everyone is merging.
Let see an example of a git conflict; let suppose that we are 2 developers in the same project and each developer has their own branch.
project name: react_project
project base branch: development or main branch
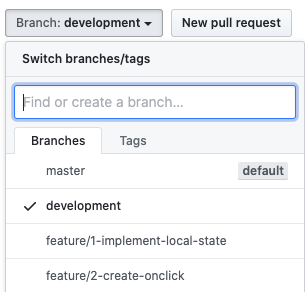
Developer 1 branch name: feature/1-implement-local-state
Developer 2 branch name: feature/2-create-onclick
Like this:
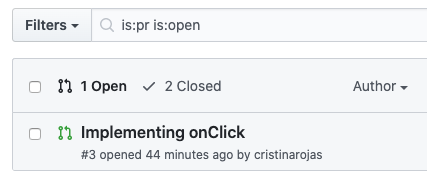
Ok, so let suppose that each developer completed their tickets and they created their PR (Pull Request), so in this case we have 2 PR’s:

So the next step is that one of the developers merge their PR to development branch, so let suppose that the Developer 1 merged his own PR to development, now we have only one PR to merge:
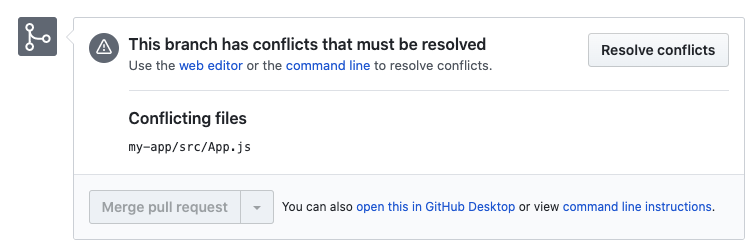
Then if the Developer 2 try to merge his own PR to development, will see conflicts in Github:
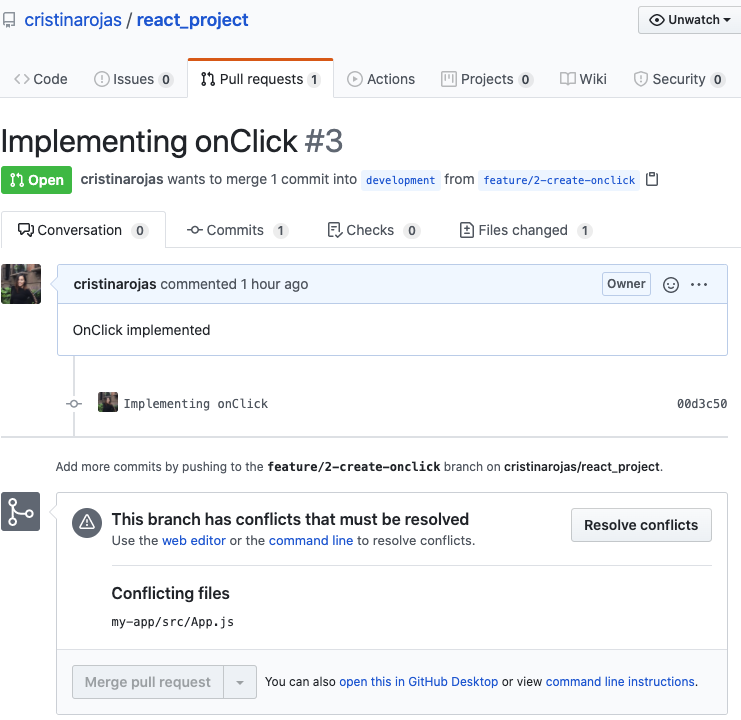
If you see the button [Merge pull request] is disabled, so this means that we need to fix our code conflicts until we will able to merge the branch.
Steps to fix the conflicts
1.- Go to your terminal and update “development” branch
git pull origin development 2.- Go to your branch (the branch of the PR where you have the conflicts) in my case my branch name is feature/2-create-onclick and run the next command
git rebase development
3.- Don’t worry If you see in our terminal a commit number instead of the name of our actual branch, this is because the “rebase go through every commit that is in our base branch trying to merge each commit to our actual branch”

And if we go to the base branch “development” in Github we will see exactly the same commit number

Good, so leave the terminal as it is and go to step 4.
4.- Ok, next step is go through code editor and open the file where we have the conflict, in this case is my-app/src/App.js
Remember that you can see your conflict file name in your PR
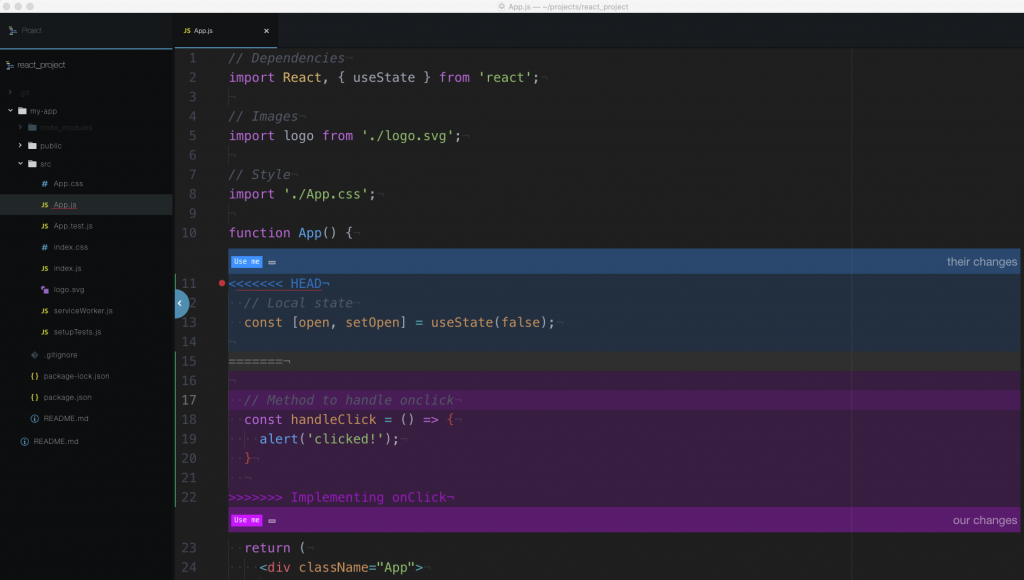
So, now I have my App.js opening in my code editor:
Why are conflicts created?
Commonly is because multiple team members are working in the same file and our file does not contain the code that others have already made.
If you see this image shows some lines of code in blue and inside in line 11 we see this text “<<<<<<< HEAD” and in line 15 “=======” this means that all this code that is inside line 11 and line 15 is the code that we don’t have in our current branch but it is in development branch.

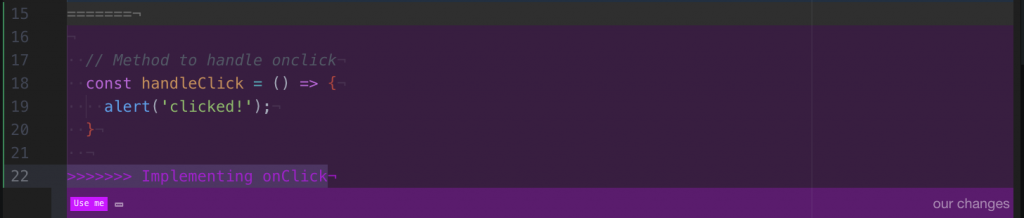
Then between line 15 “=======” and line 22 “>>>>>>>” we have a purple color, this code is the actual code in our branch, the changes that we created in the our branch.
Ok, It is very important that we know how to distinguish the changes that are in the base branch and our branch, because we don’t want to delete changes of the other team member.
Resolving the conflict
To resolve this conflict we can select one of the options of the dropdown
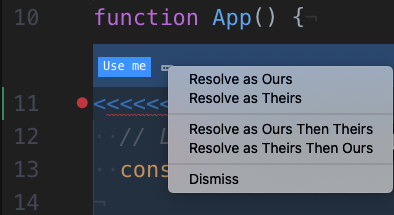
Resolve as Our: means that we will keep our code and will remove the base branch code.
Resolve as Theirs: means that we will keep base branch code and will remove our code.
Resolve as Ours Then Theirs: means than will keep first our code and then will keep the base branch code (keeping both codes)
Resolve as Theirs Then Ours: means than will keep first base branch code and then our will keep our code (keeping both codes)
Or if you know which changes to keep and which to remove and you don’t want to use the dropdown you manually can delete or keep the code as you need.
In my case I will resolve the code with the dropdown clicking the option “Resolve as Theirs Then Ours” and I’m selecting this option because I because I already know what my changes are and maybe I don’t know the changes of the other team members.
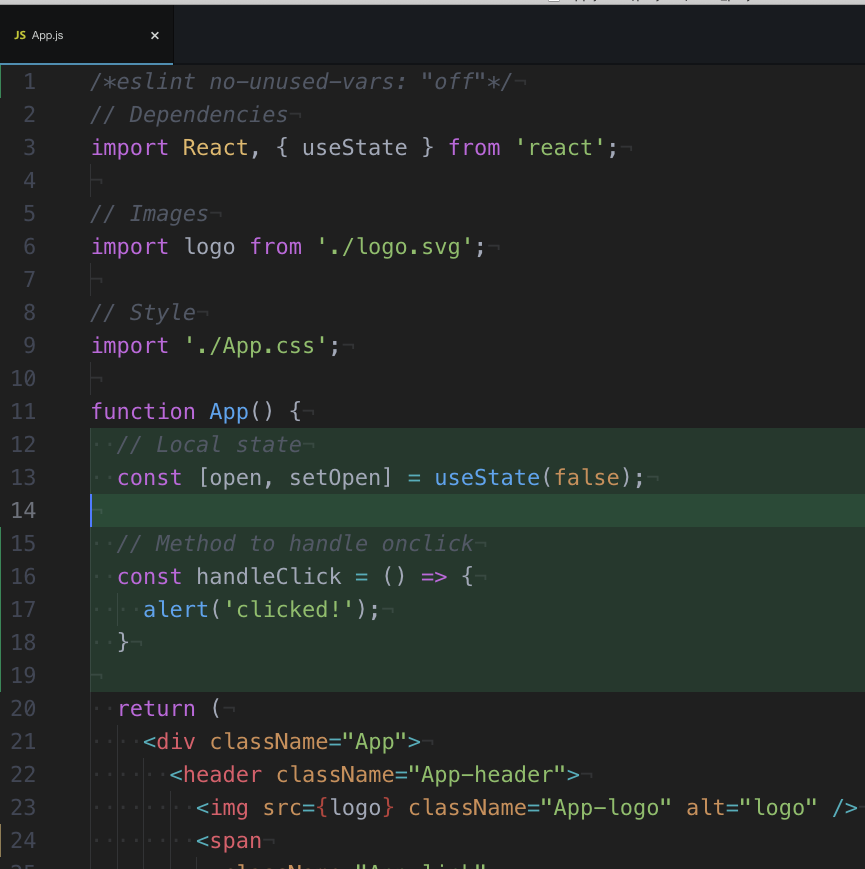
After the click that option color and texts will disappear, and if we don’t have more conflicts we will see how the code of the base branch is adding to our file. Then save the file.
Note: colors and dropdown text options vary depending on the editors.
5.- After you saved the file, go to your terminal and type the next command to add the resolved conflict to the stage
git add -A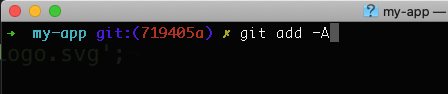
6.- Then type the next command to know if we have more conflicts in our file or project
git rebase --continue
7.- If we don’t have more conflicts will see the text “Applying:….nameOfMyCommits” and also we will see again the name of our current branch in the terminal
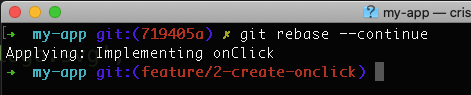
At this point we have resolved our conflicts 🙂 !
8.- Next step is push our resolved code to the branch, like this:
git push origin nameOfOurBranch -f Note: -f to force the push.

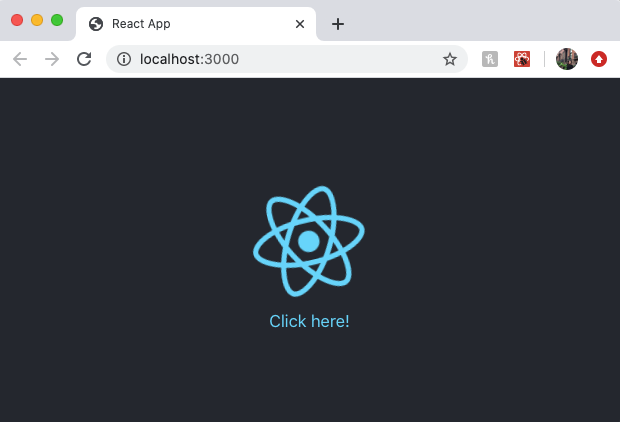
Uploaded changes:

Don’t forget to test that everything works correctly in your project 🙂
9.- Finally go to your Github and refresh your PR page, and now because we don’t have any conflicts we can merge our branch to “development” branch
Just click on button [Merge pull request] and confirm button too.
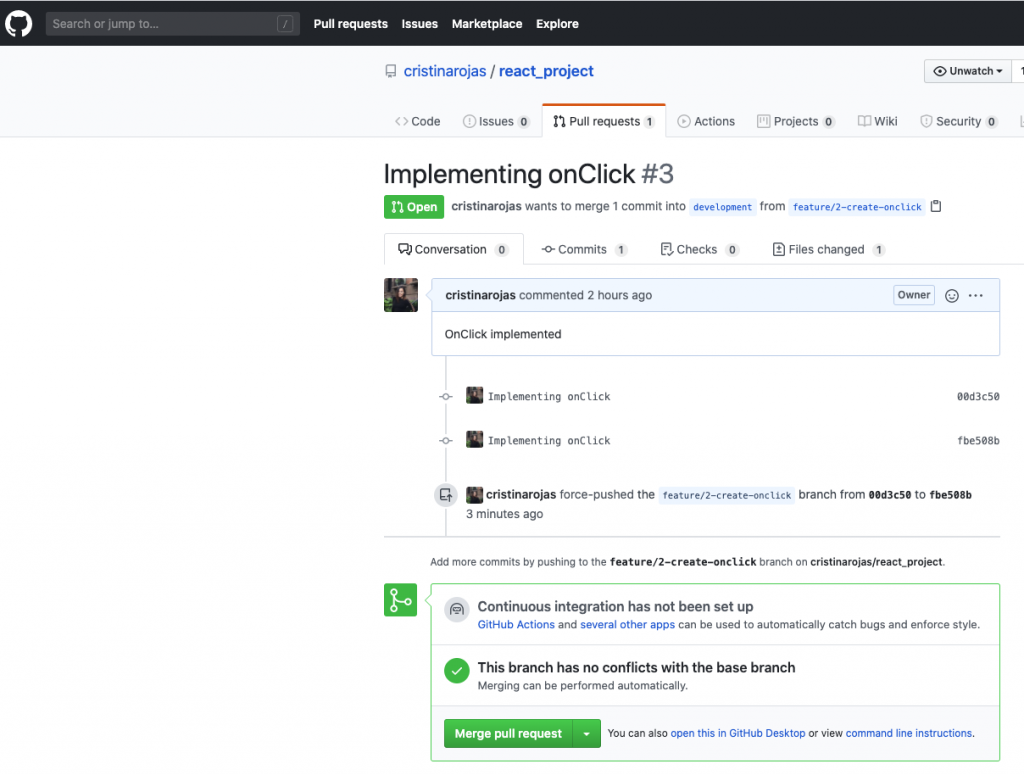
And now the changes of the Developer 1 and Developer 2 are in “development” branch!
By Cristina Rojas.